Within the sandboxed runtime, the Agent node gives the LLM the ability to execute commands autonomously: calling tools, running scripts, accessing the internal file system and external resources, and creating multimodal outputs.This comes with trade-offs: longer response times and higher token consumption. To handle simple tasks faster and more efficiently, you can disable these capabilities by turning off Agent Mode.
Choose a model that best fits your task from your configured providers.After selection, you can adjust model parameters to control how it generates responses. Available parameters and presets vary by model.
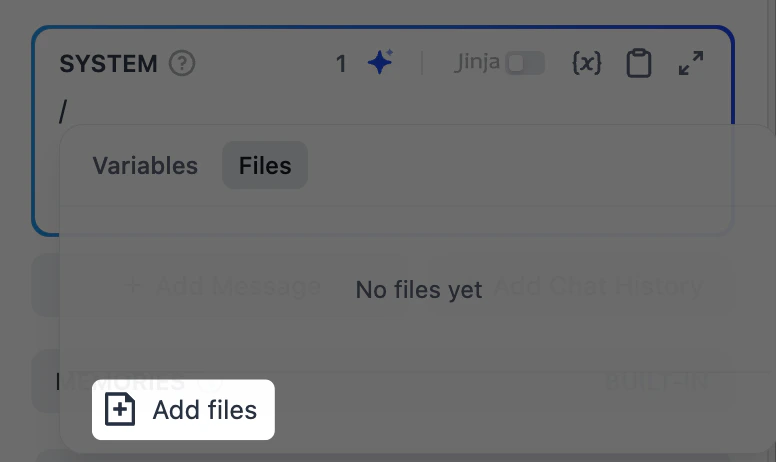
Instruct the model on how to process inputs and generate responses. Type / to insert variables or resources in the file system, or @ to reference Dify tools.
If the resource you need doesn’t exist in the file system yet, click Add files to create or upload one directly. The default work is the root directory.When creating a new file, you can enter the file name with its extension (e.g., report.md). The file is created empty—reference it in your prompt first and fill in its content in the file system later.
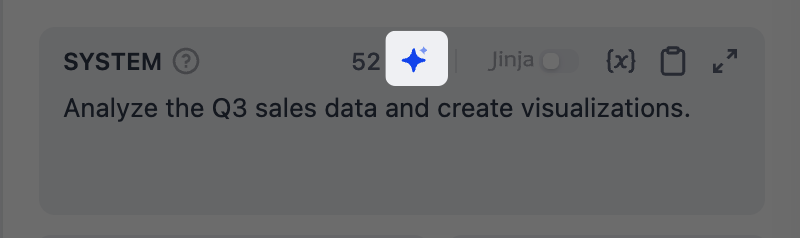
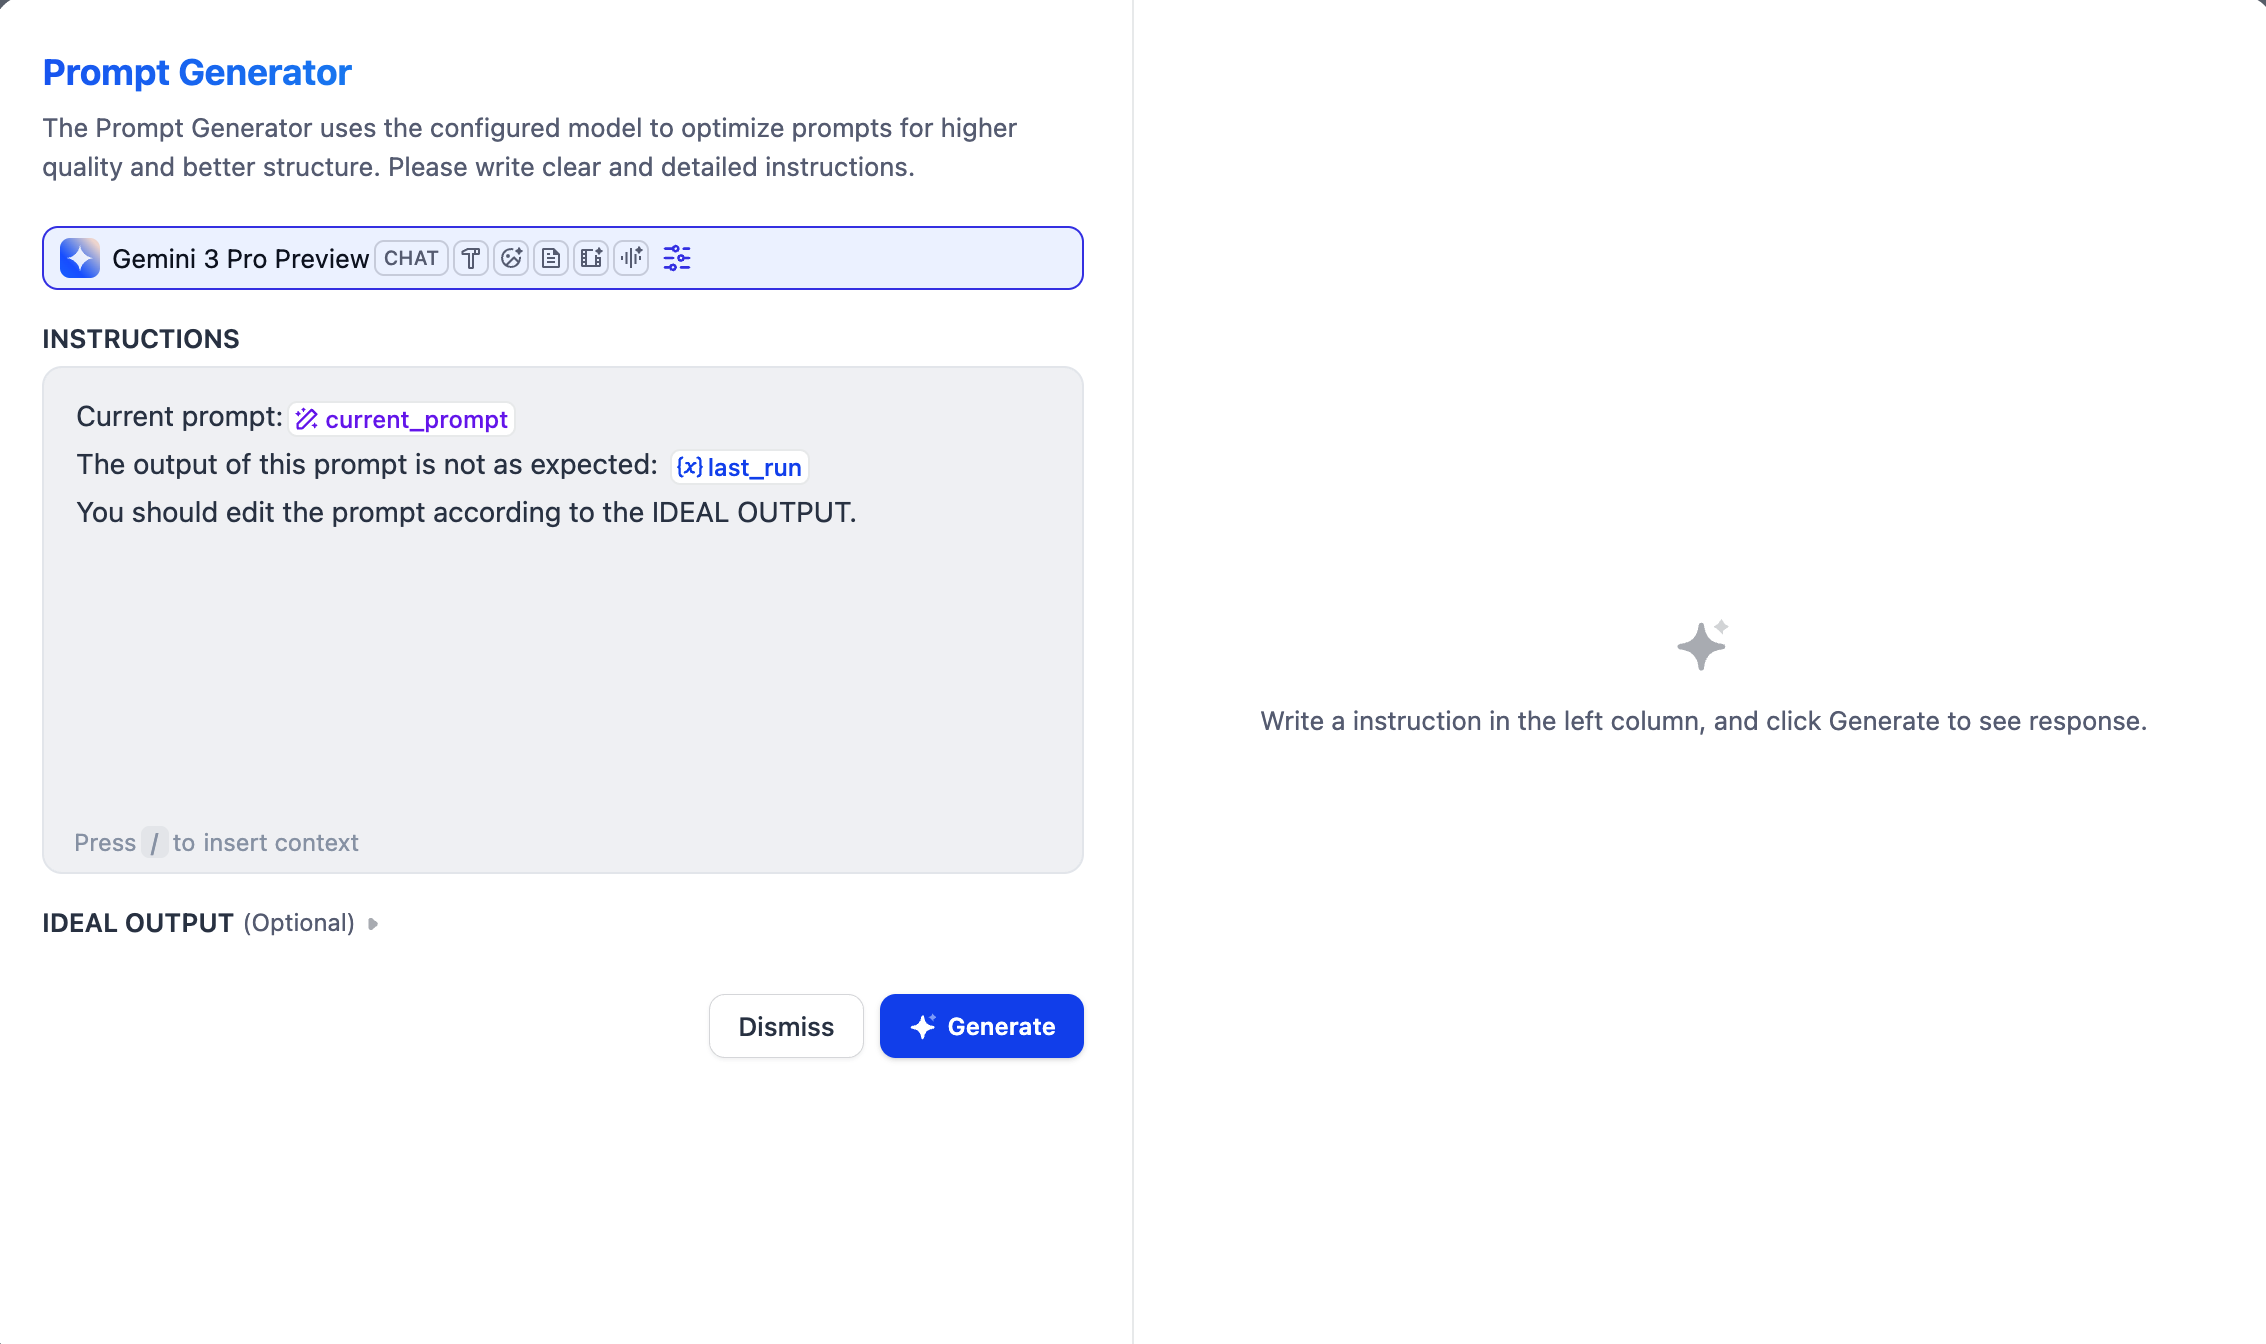
If you’re unsure where to start or want to refine existing prompts, try our AI-assisted prompt generator.
Define the system instruction and click Add Message to add user/assistant messages. They are all sent to the model in order in a single prompt.Think of it as chatting directly with the model:
System instructions set the rules for how the model should respond—its role, tone, and behavioral guidelines.
User messages are what you send to the model—a question, request, or task for the model to work on.
Define the role and rules in the system instruction, then pass the actual task input in a user message. For example:
# System instructionYou are a children's story writer. Write a story based on the user's input. Use simple language and a warm tone.# User messageWrite a bedtime story about a rabbit who makes friends with a shy hedgehog.
While it may seem simpler to put everything in the system instruction, separating role definitions from task inputs gives the model clearer structure to work with.
You might wonder: if assistant messages are the model’s responses, why would I add them manually?By adding alternating user and assistant messages, you create simulated chat history in the prompt. The model treats these as prior exchanges, which can help guide its behavior.
Click Add Chat History to import chat history from an upstream Agent node. This lets the model know what happened upstream and continue from where that node left off.Chat history includes user, assistant, and . You can view it in an Agent node’s context output variable.
System instructions are not included, as they are node-specific.
This is useful when chaining multiple Agent nodes:
Without importing chat history, a downstream node only receives the upstream node’s final output, with no idea how it got there.
With imported chat history, it sees the entire process: what the user asked, what tools were called, what results came back, and how the model reasoned through them.
Specify your new task in the automatically added user message. The imported history is prepended to the current node’s messages, so the model sees it as one continuous conversation. Since the imported history typically ends with an assistant message, the model needs a follow-up user message to know what to do next.
Example: Process Files Generated by Upstream LLMs
Suppose two Agent nodes run in sequence: Agent A analyzes data and generates chart images, saving them to the sandbox’s output folder. Agent B creates a final report that includes these charts.If Agent B only receives Agent A’s final text output, it knows the analysis conclusions but doesn’t know what files were generated or where they’re stored.By importing Agent A’s chat history, Agent B sees the exact file paths from the tool messages and can access and embed the charts in its report.Here’s the complete message sequence Agent B sees after importing Agent A’s chat history:
# Agent B's own system instruction1. System: "You are a report designer. Create professional reports with embedded visuals."# from Agent A 2. User: "Analyze the Q3 sales data and create visualizations."# from Agent A3. Tool: [bash] Created bar chart: /output/q3_sales_by_region.png4. Tool: [bash] Created trend line: /output/q3_monthly_trend.png# from Agent A5. Assistant: "I've analyzed the Q3 sales data and created two charts..."# Agent B's own user message6. User: "Create a PDF report incorporating the generated charts."
Agent B knows exactly which files exist and where they are, so it can embed them directly in the report.
Use Jinja2 templating to add conditionals, loops, and other logic to your prompts. For example, customize instructions depending on a variable’s value.
Example: Conditional System Instruction by User Level
You are a {% if user_level == "beginner" %}patient and friendly {% elif user_level == "intermediate" %}professional and efficient {% else %}senior expert-level {% endif %} assistant.{% if user_level == "beginner" %} Please explain in simple and easy-to-understand language. Provide examples when necessary. Avoid using technical jargon. {% elif user_level == "intermediate" %} You may use some technical terms, but provide appropriate explanations. Offer practical advice and best practices. {% else %} You may delve into technical details and use professional terminology. Focus on advanced use cases and optimization solutions. {% endif %}
By default, you’d need to send all possible instructions to the model, describe the conditions, and let it decide which to follow—an approach that’s often unreliable.With Jinja2 templating, only the instructions matching the defined conditions are sent, ensuring predictable behavior and reducing token usage.
Toggle on Agent Mode to let the model use the built-in bash tool to execute commands in the sandboxed runtime.This is the foundation for all advanced capabilities: when the model calls any other tools, performs file operations, runs scripts, or accesses external resources, it does so by calling the bash tool to execute the underlying commands.For quick, simple tasks that don’t require these capabilities, you can disable Agent Mode to get faster responses and lower token costs.Adjust Max IterationsMax Iterations in Advanced Settings limits how many times the model can repeat its reasoning-and-action cycle (think, call a tool, process the result) for a single request.Increase this value for complex, multi-step tasks that require multiple tool calls. Higher values increase latency and token costs.
Memory is node-specific and doesn’t persist between different conversations.
Enable Memory to keep recent dialogues, so the LLM can answer follow-up questions coherently.A user message will be automatically added to pass the current user query and any uploaded files. This is because memory works by storing recent user-assistant exchanges. If the user query isn’t passed through a user message, there will be nothing to record on the user side.Window Size controls how many recent exchanges to retain. For example, 5 keeps the last 5 user-query and LLM-response pairs.
In Advanced Settings > Context, provide the LLM with additional reference information to reduce hallucination and improve response accuracy.A typical pattern: pass retrieval results from a knowledge retrieval node for Retrieval-Augmented Generation (RAG).
To let multimodal-capable models process images, audio, video, or documents, choose either approach:
Reference file variables directly in the prompt.
Enable Vision in Advanced Settings and select the file variable there.Resolution controls the detail level for image processing only:
High: Better accuracy for complex images but uses more tokens
Low: Faster processing with fewer tokens for simple images
For models without relevant multimodal capabilities, use the Upload File to Sandbox node to upload files to the sandbox. Agent nodes can then execute commands to install tools and run scripts to process these files—even file types the model can’t handle natively.
To get a clean response without the model’s thinking process and tool calls, use the generations.content output variable.The generations variable itself includes all intermediate steps alongside the final response.
Describing an output format in instructions can produce inconsistent results. For more reliable formatting, enable structured output to enforce a defined JSON schema.
For models without native JSON support, Dify includes the schema in the prompt, but strict adherence is not guaranteed.
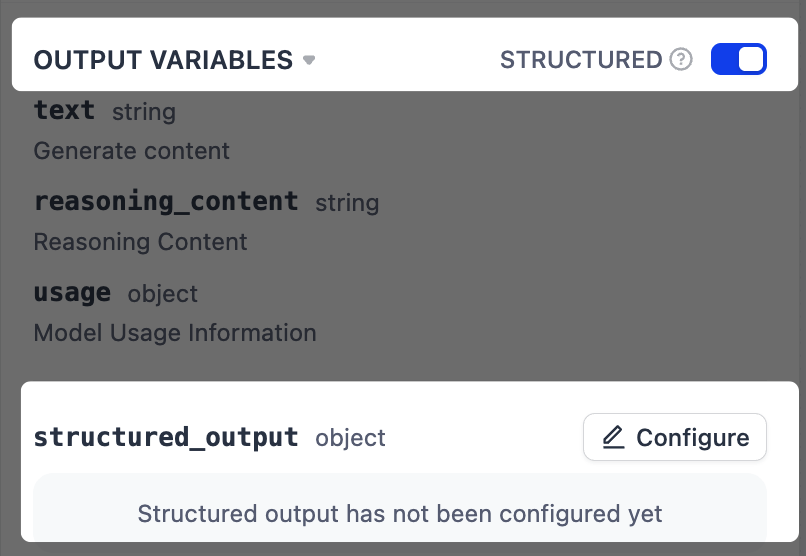
Next to Output Variables, toggle on Structured. A structured_output variable will appear at the end of the output variable list.
Click Configure to define the output schema using one of the following methods.
Visual Editor: Define simple structures with a no-code interface. The corresponding JSON schema is generated automatically.
JSON Schema: Directly write schemas for complex structures with nested objects, arrays, or validation rules.
AI Generation: Describe needs in natural language and let AI generate the schema.
JSON Import: Paste an existing JSON object to automatically generate the corresponding schema.
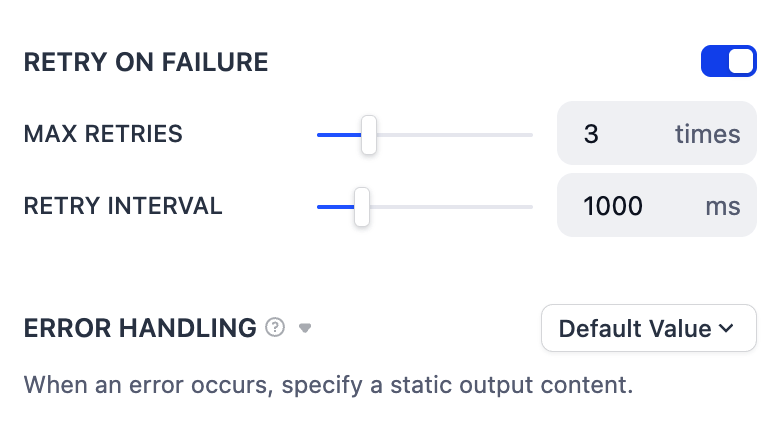
Configure automatic retries for temporary issues (like network glitches), or a fallback error handling strategy to keep the workflow running if errors persist.
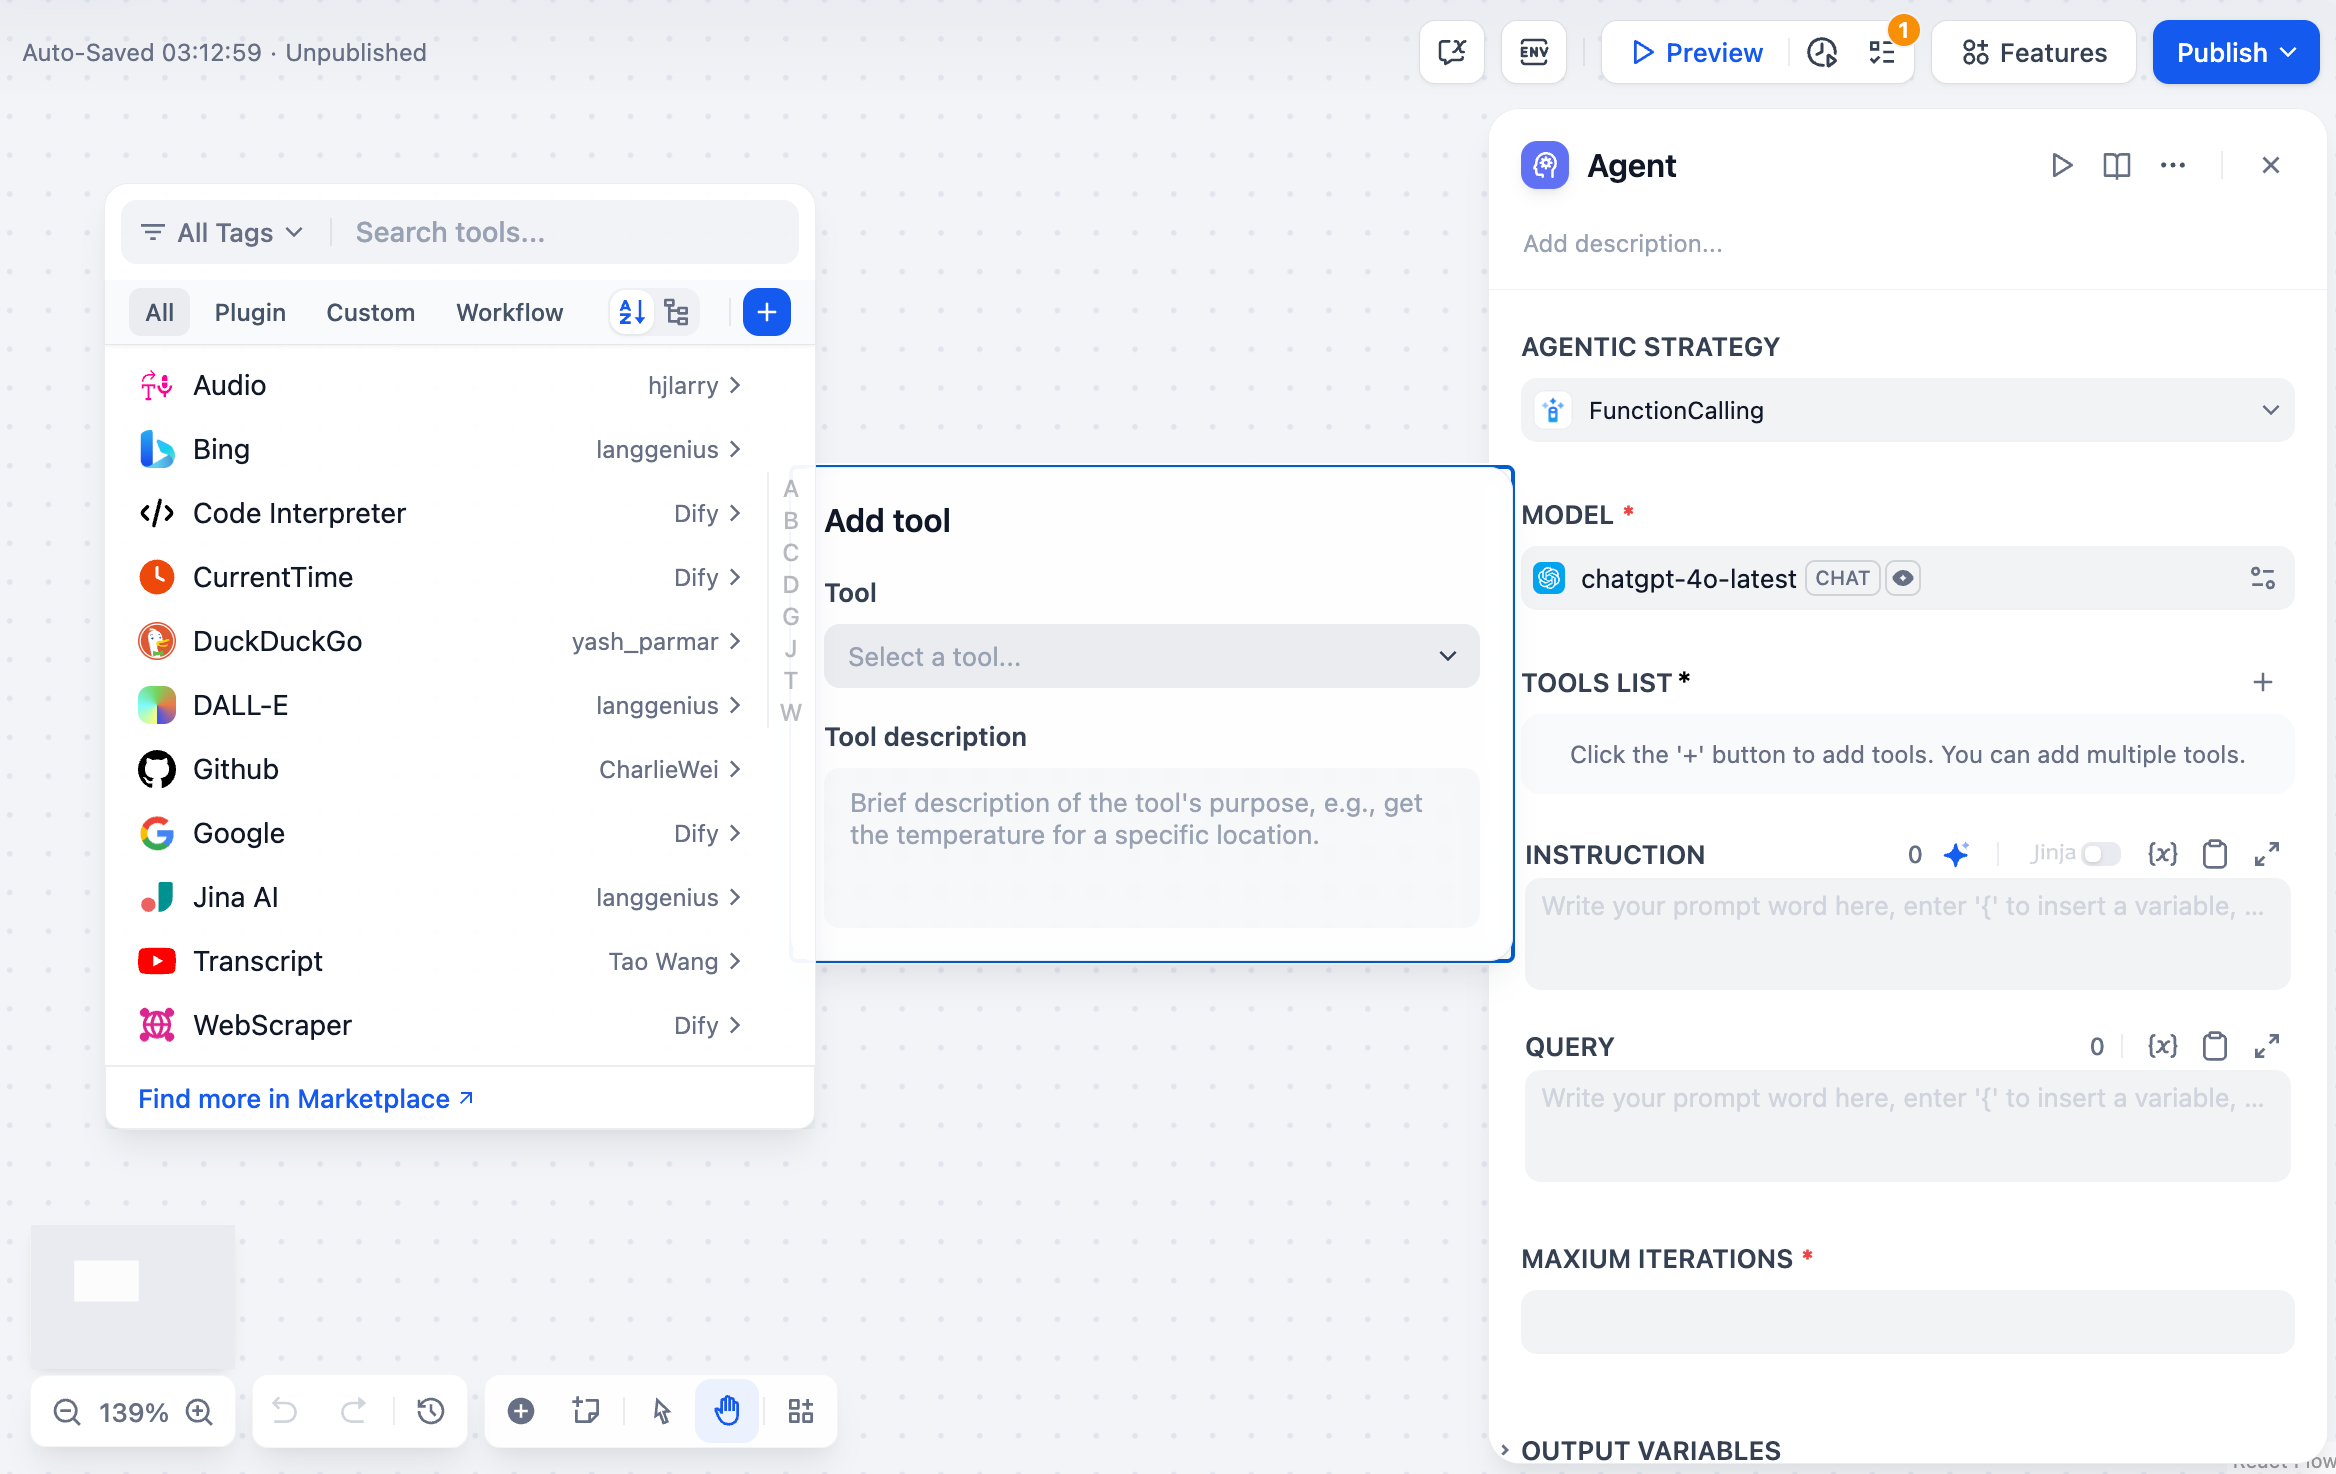
Within the classic runtime, the Agent node gives your LLM autonomous control over tools, enabling it to iteratively decide which tools to use and when to use them. Instead of pre-planning every step, the Agent reasons through problems dynamically, calling tools as needed to complete complex tasks.
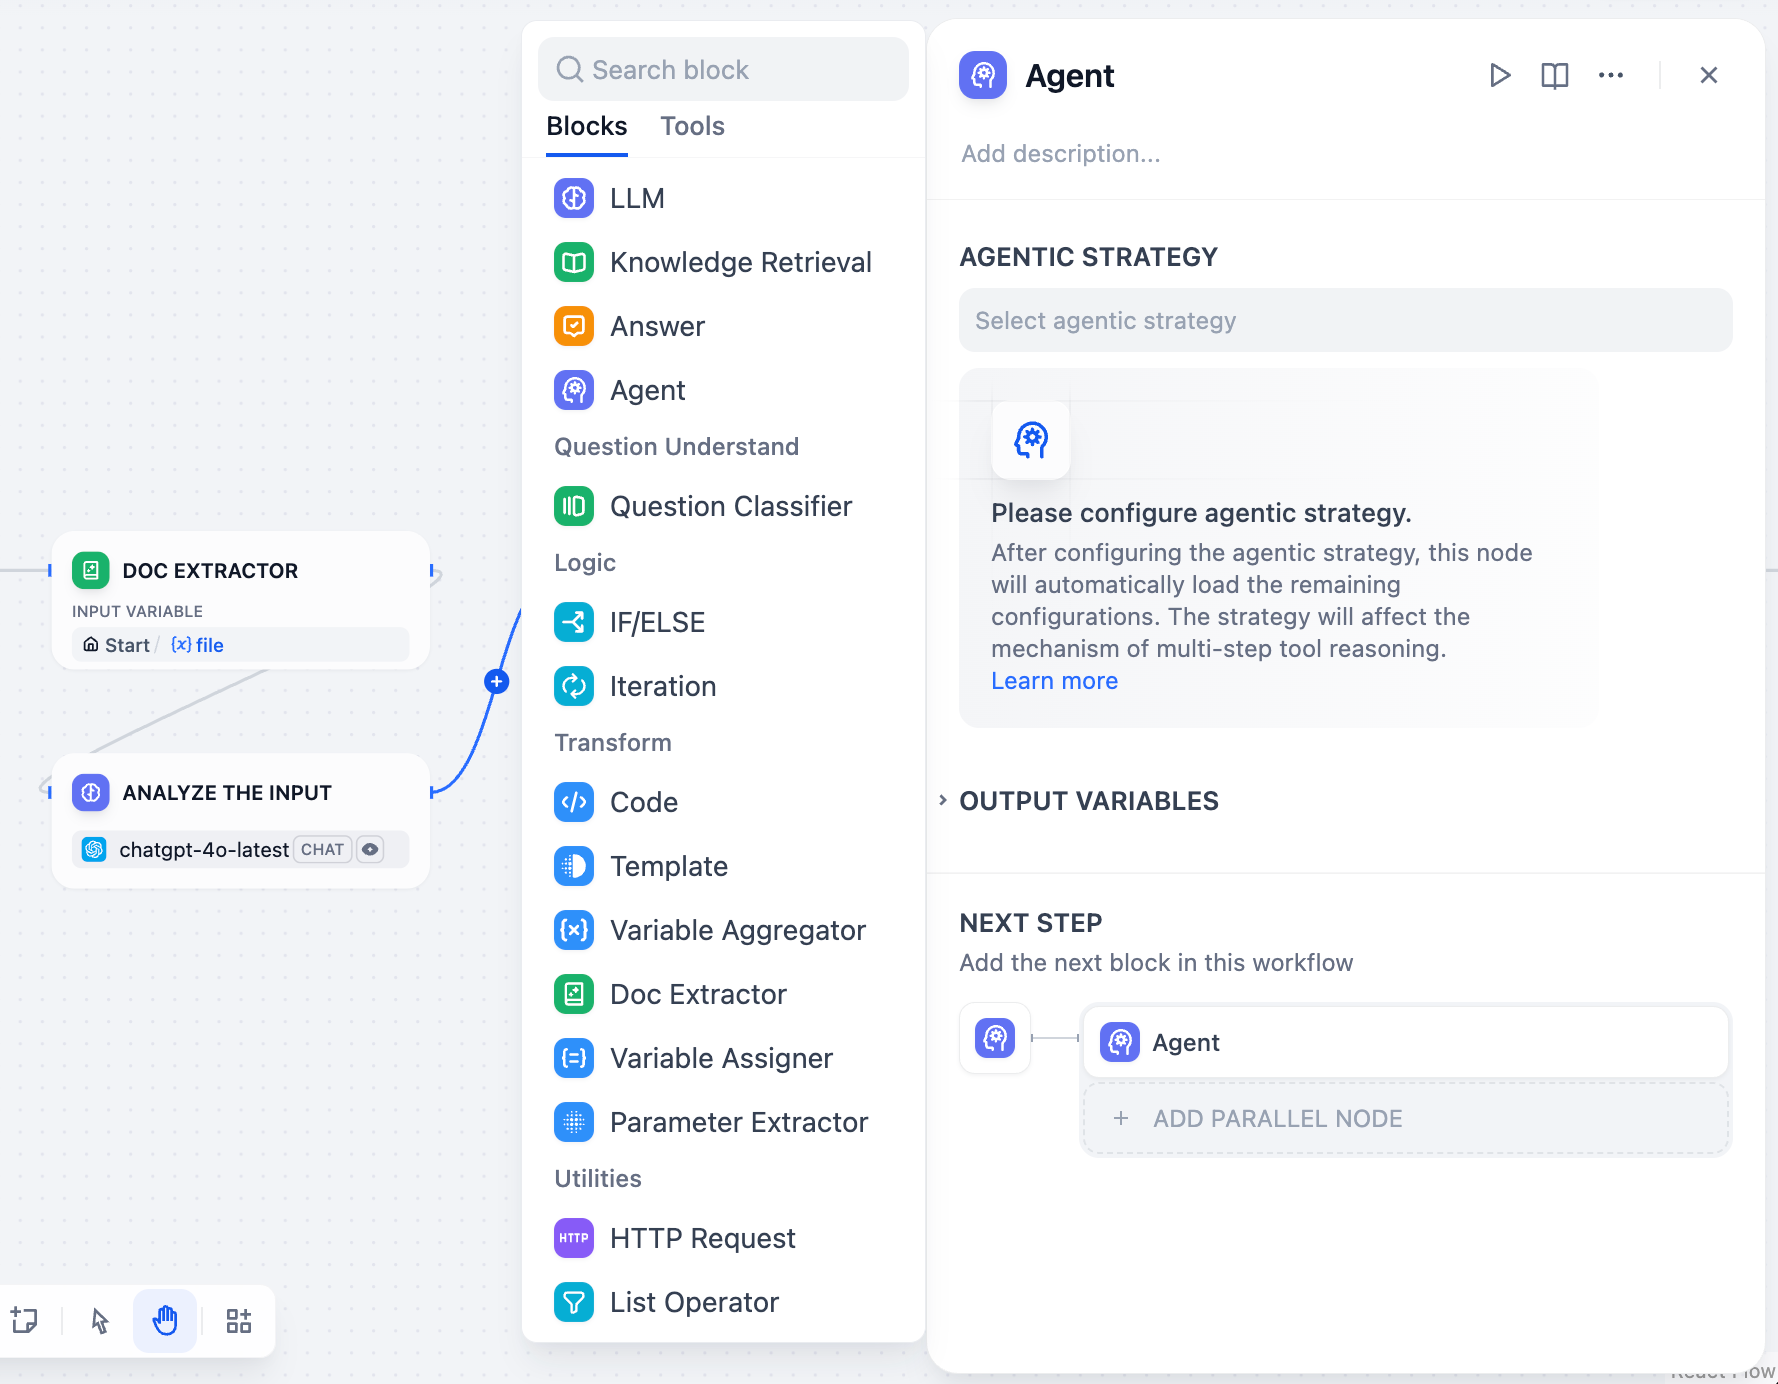
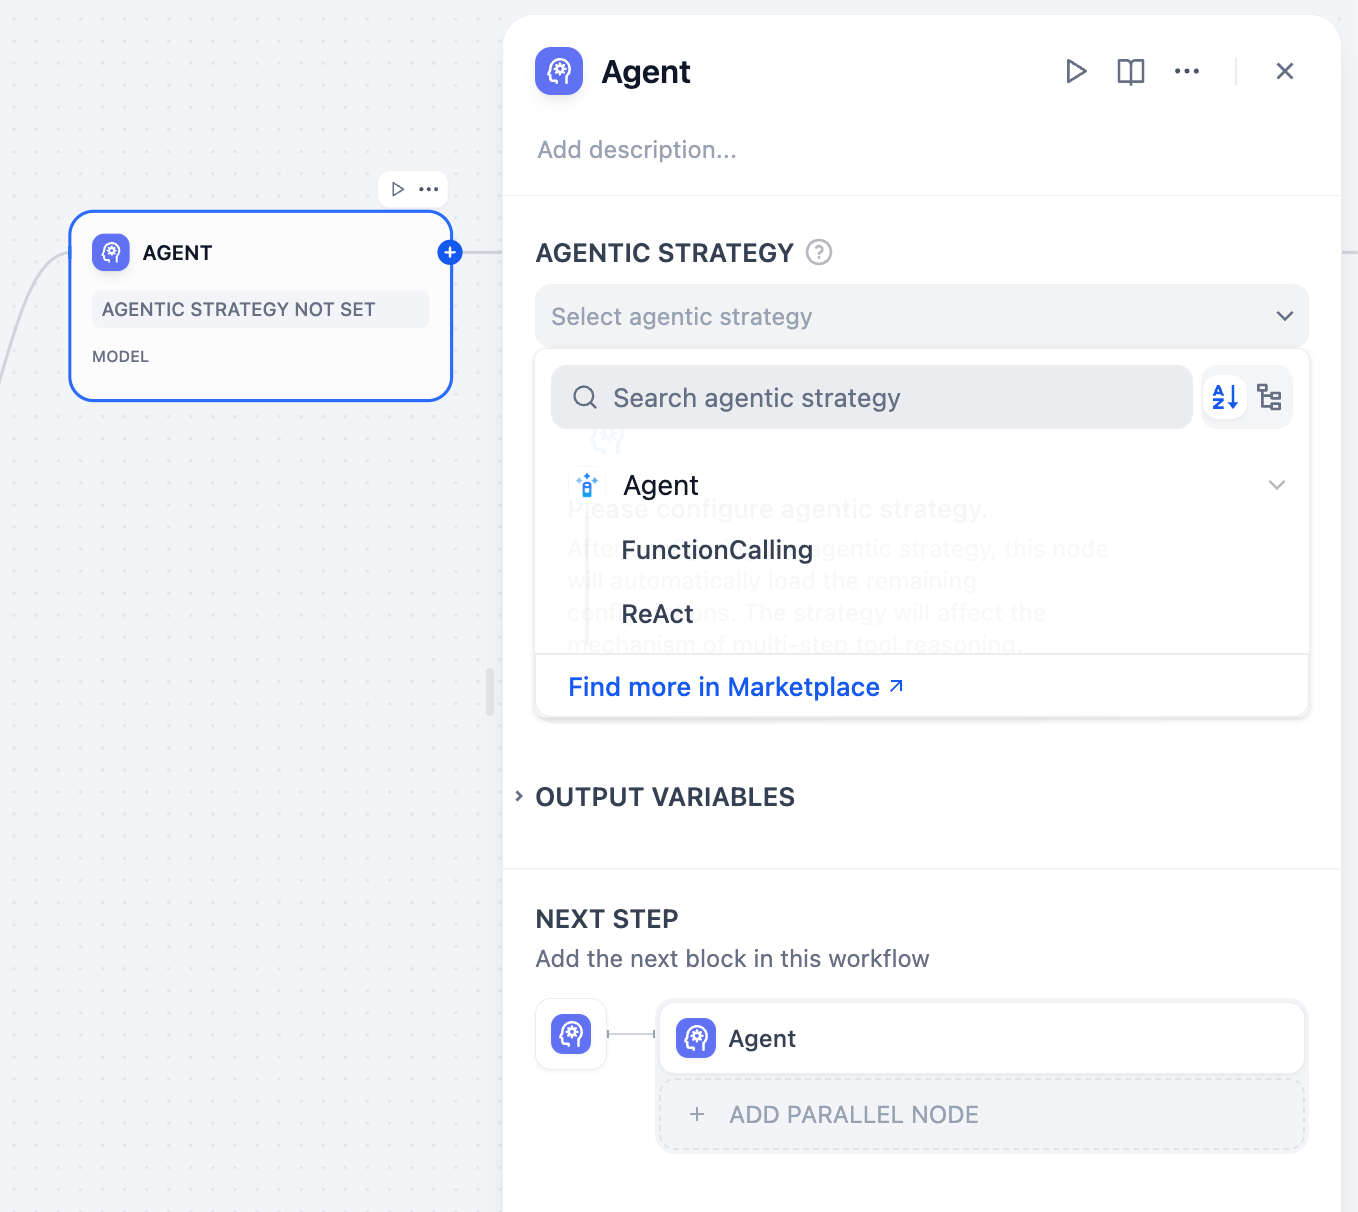
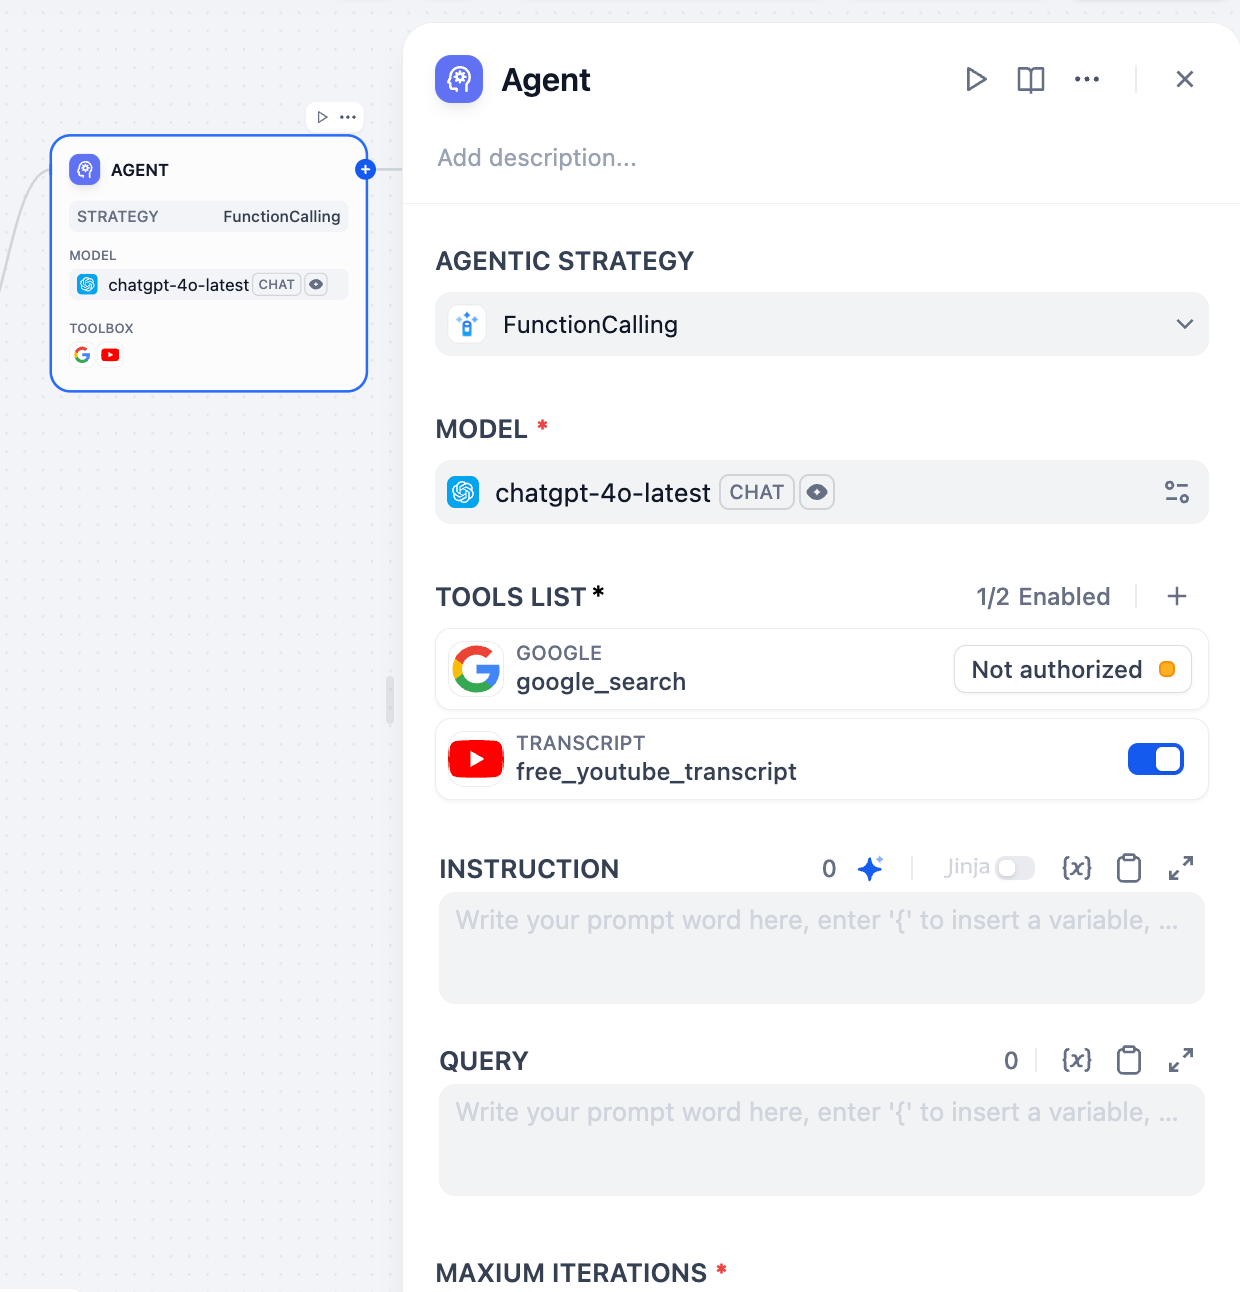
Agent strategies define how your Agent thinks and acts. Choose the approach that best matches your model’s capabilities and task requirements.
Available agent strategy options
Function Calling
ReAct (Reason + Act)
Uses the LLM’s native function calling capabilities to directly pass tool definitions through the tools parameter. The LLM decides when and how to call tools using its built-in mechanism.Best for models like GPT-4, Claude 3.5, and other models with robust function calling support.
Uses structured prompts that guide the LLM through explicit reasoning steps. Follows a Thought → Action → Observation cycle for transparent decision-making.Works well with models that may not have native function calling or when you need explicit reasoning traces.
Install additional strategies from Marketplace → Agent Strategies or contribute custom strategies to the community repository.
Choose an LLM that supports your selected agent strategy. More capable models handle complex reasoning better but cost more per iteration. Ensure your model supports function calling if using that strategy.
Configure the tools your Agent can access. Each tool requires:Authorization - API keys and credentials for external services configured in your workspaceDescription - Clear explanation of what the tool does and when to use it (this guides the Agent’s decision-making)Parameters - Required and optional inputs the tool accepts with proper validation
Define the Agent’s role, goals, and context using natural language instructions. Use Jinja2 syntax to reference variables from upstream workflow nodes.Query specifies the user input or task the Agent should work on. This can be dynamic content from previous workflow nodes.
Maximum Iterations sets a safety limit to prevent infinite loops. Configure based on task complexity - simple tasks need 3-5 iterations, while complex research might require 10-15.Memory controls how many previous messages the Agent remembers using TokenBufferMemory. Larger memory windows provide more context but increase token costs. This enables conversational continuity where users can reference previous actions.
Tools can have parameters configured as auto-generated or manual input. Auto-generated parameters (auto: false) are automatically populated by the Agent, while manual input parameters require explicit values that become part of the tool’s permanent configuration.
Agent nodes provide comprehensive output including:Final Answer - The Agent’s ultimate response to the queryTool Outputs - Results from each tool invocation during executionReasoning Trace - Step-by-step decision process (especially detailed with ReAct strategy) available in the JSON outputIteration Count - Number of reasoning cycles usedSuccess Status - Whether the Agent completed the task successfullyAgent Logs - Structured log events with metadata for debugging and monitoring tool invocations
Research and Analysis - Agents can autonomously search multiple sources, synthesize information, and provide comprehensive answers.Troubleshooting - Diagnostic tasks where the Agent needs to gather information, test hypotheses, and adapt its approach based on findings.Multi-step Data Processing - Complex workflows where the next action depends on intermediate results.Dynamic API Integration - Scenarios where the sequence of API calls depends on responses and conditions that can’t be predetermined.
Clear Tool Descriptions help the Agent understand when and how to use each tool effectively.Appropriate Iteration Limits prevent runaway costs while allowing sufficient flexibility for complex tasks.Detailed Instructions provide context about the Agent’s role, goals, and any constraints or preferences.Memory Management balance context retention with token efficiency based on your use case requirements.